
WIDE VARIETY
Turn your logo or design into easy-to-use decals or labels that you can use anywhere. From round and square stickers, to kiss cut, reflective, or high tack; gloss laminate, matte laminate, or no laminate we can help you out.

TYPES OF DECALS

KISS CUT
Grab your customers attention with kiss cut stickers, which allow you to get creative with your custom sticker designs.

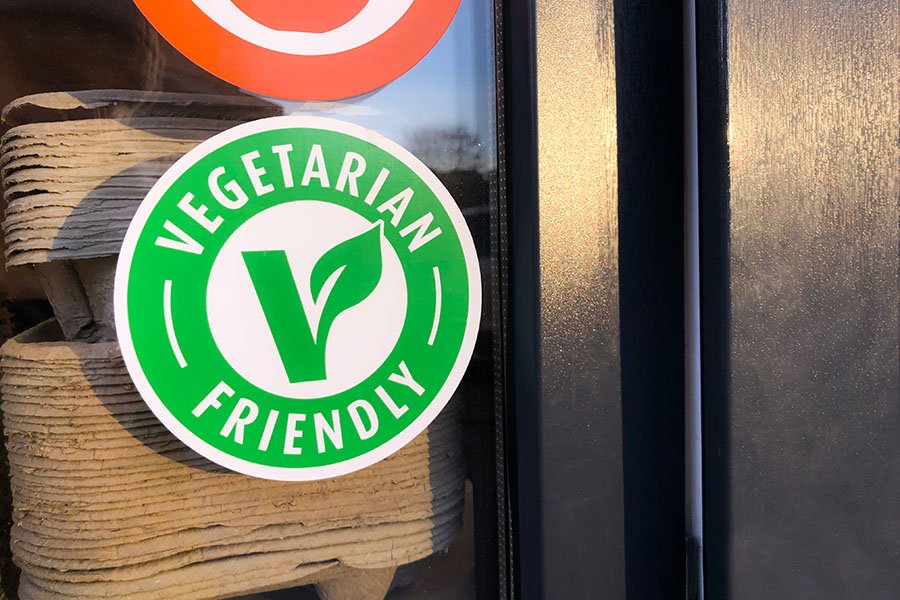
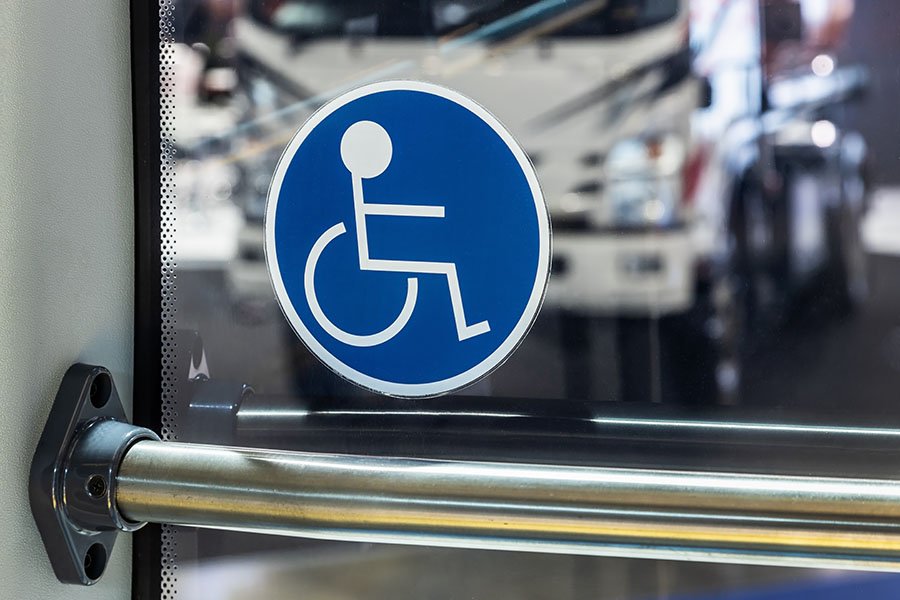
ROUND
Make some noise with custom round stickers, giving your brand the attention it deserves.

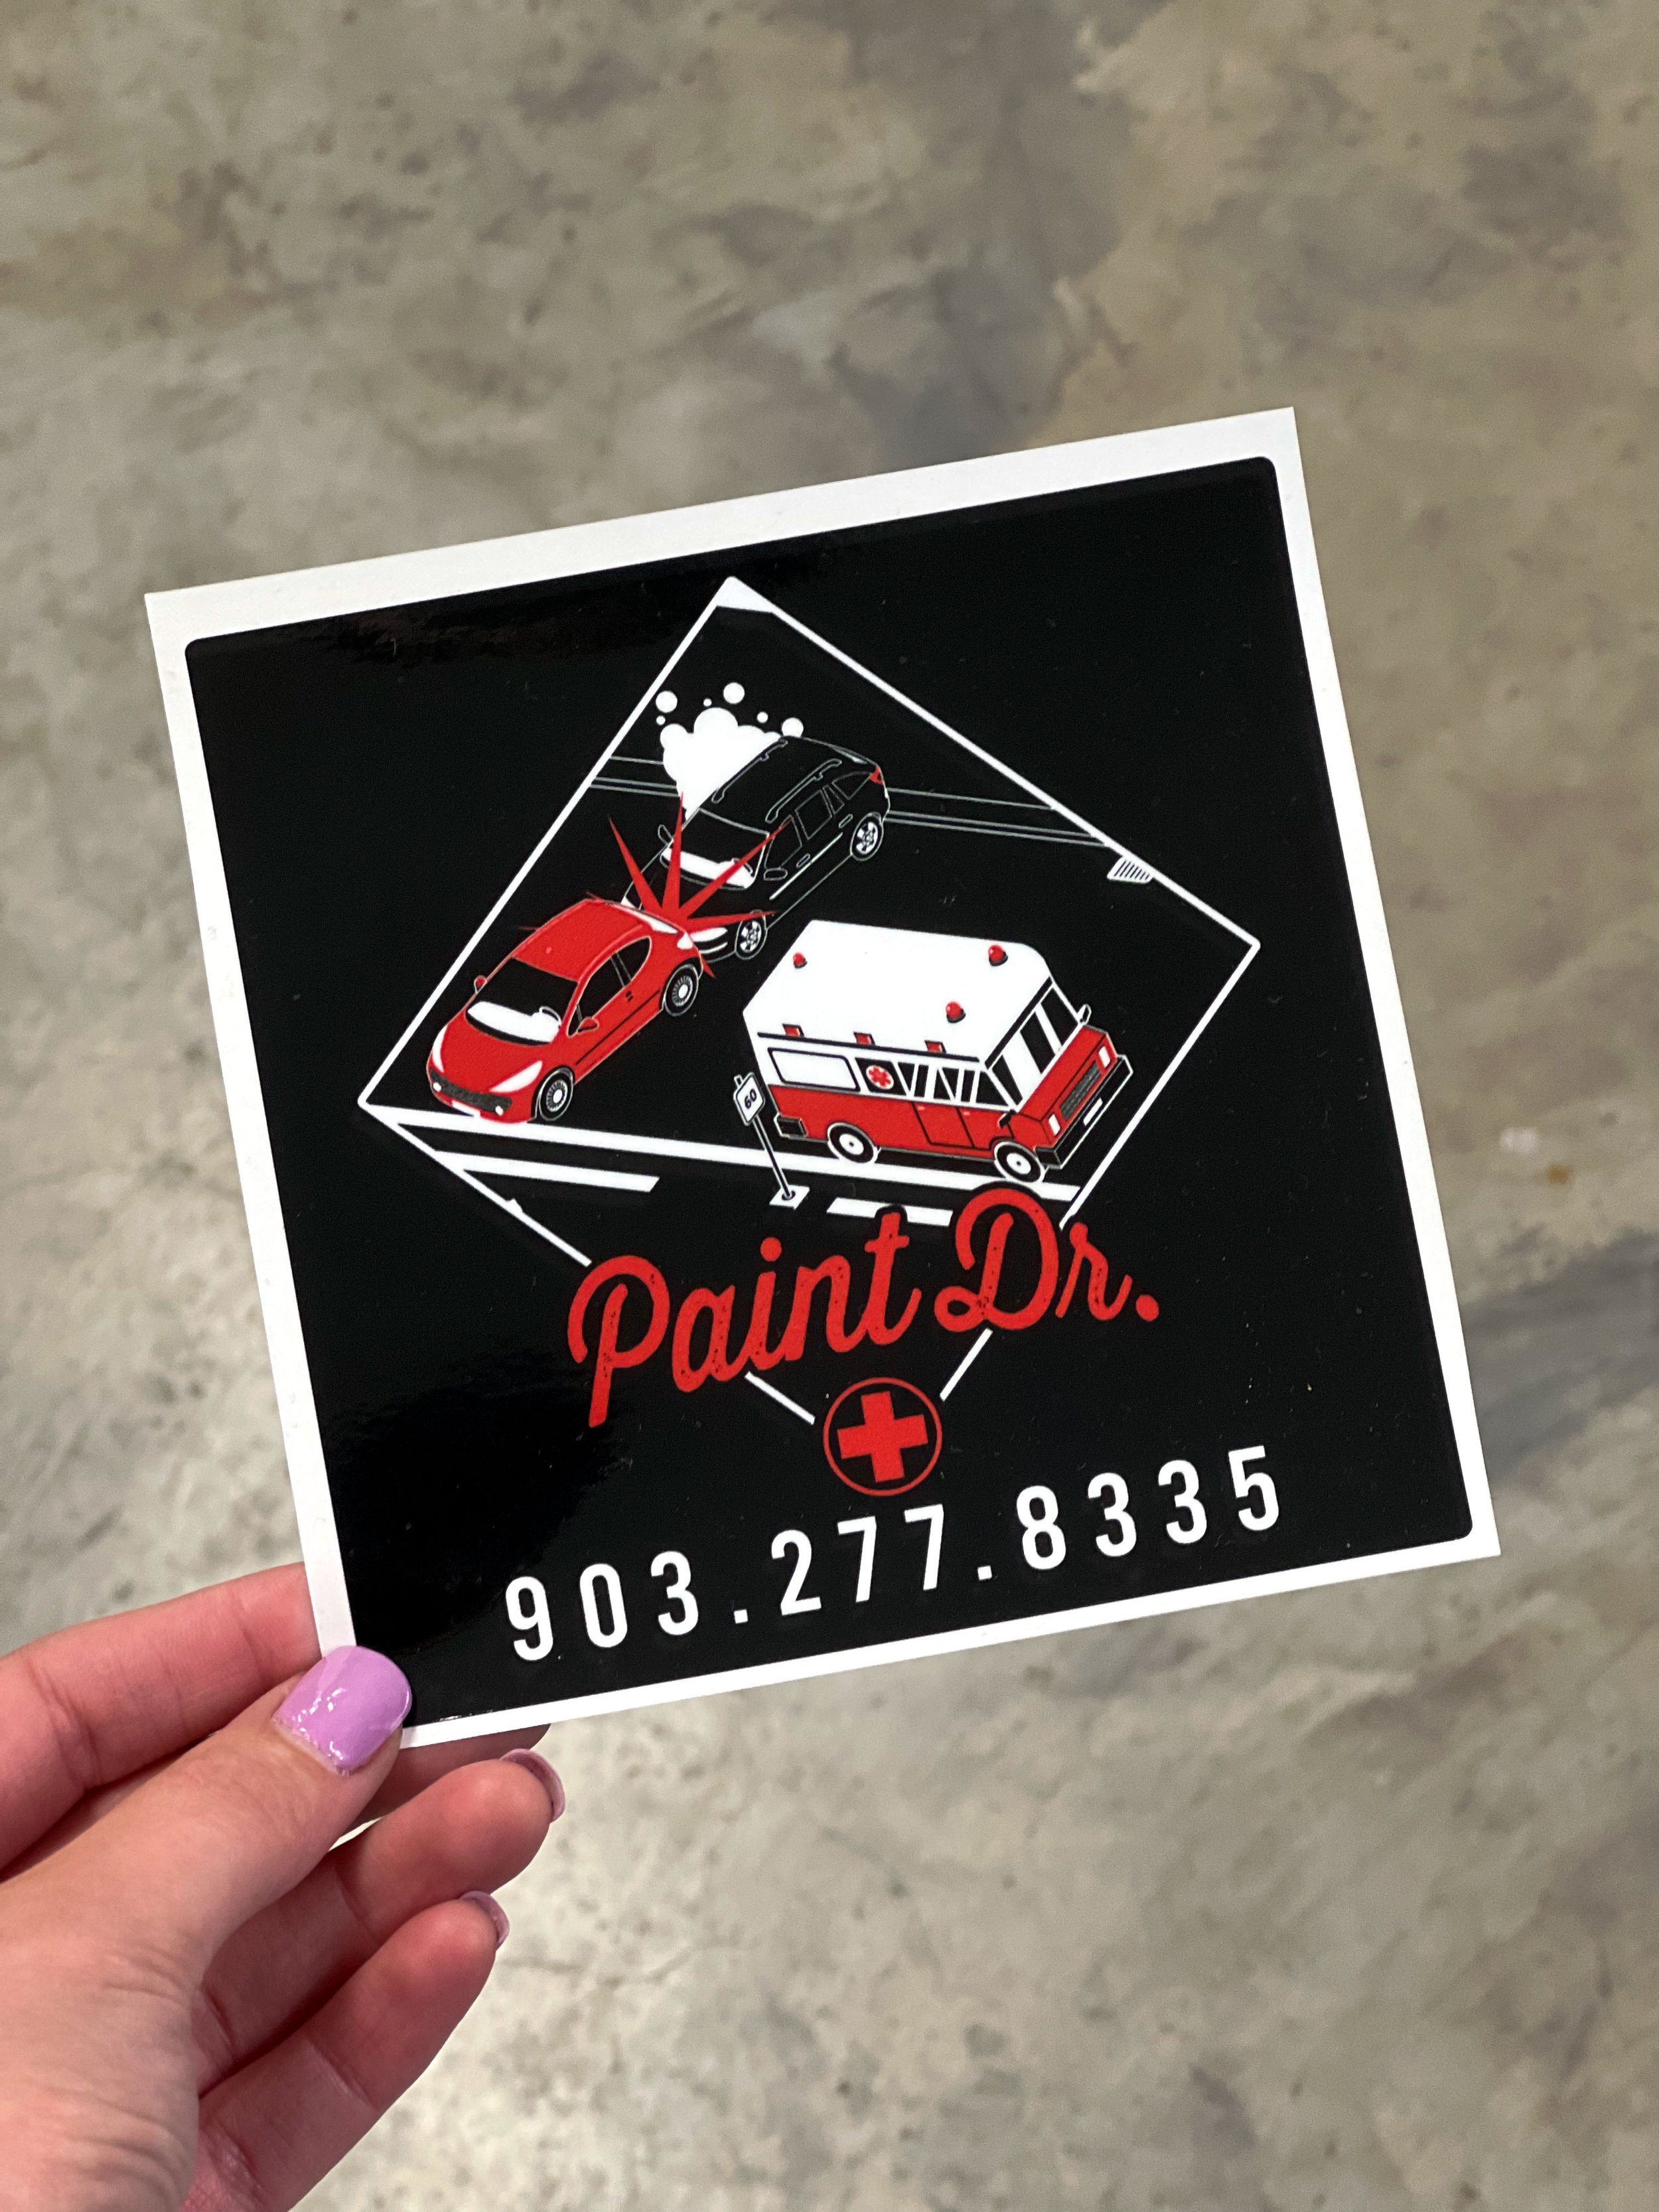
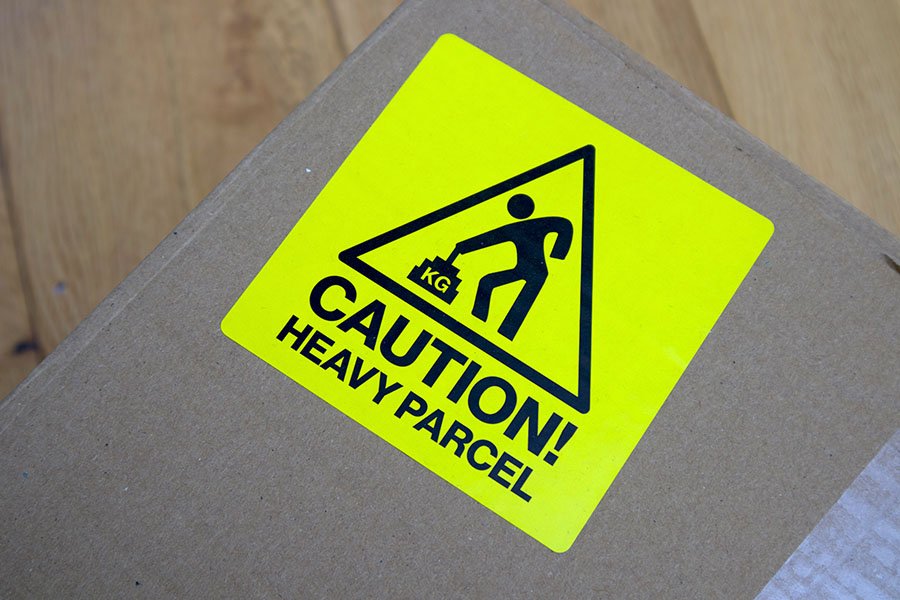
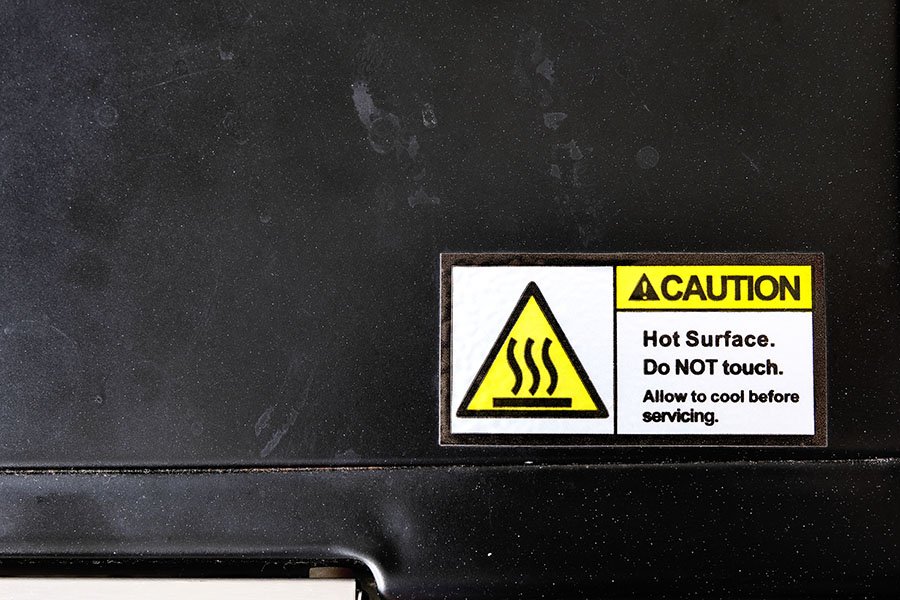
SQUARE
Compliment the natural flow with custom square labels, which are a simple way to fit a lot of information on a single sticker.

VINYL LETTERING
Gain a potential customer base by adding your company name, contact information or other needed details on your work vehicles or store fronts with custom vinyl lettering.
TRANSFER DECALS
Attract new customers by adding your company name, contact information or other needed details on your work vehicles or store fronts with transfer decals.

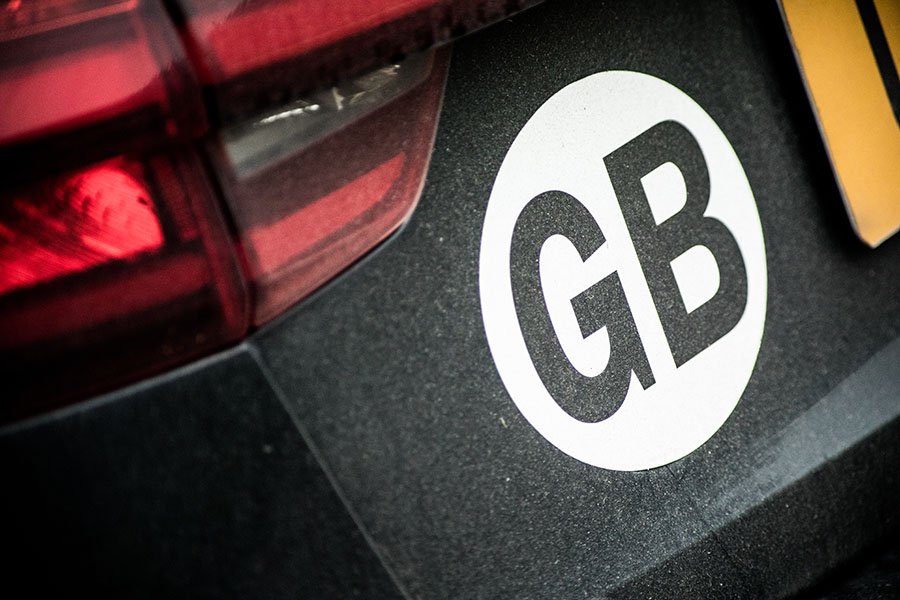
BUMPER STICKERS
Grab some attention with a custom bumper sticker to represent your company or department.

REFLECTIVE
Increase your visibility and add more reflectors with custom reflective stickers.

HIGH TACK
Represent anywhere with a custom high tack sticker; whether you’re kayaking or need it on highly used sports equipment.

FINISHES

NO LAMINATE
Acquire a simple, well done look

GLOSS LAMINATE
Attain a more vibrant, crisp appearance

MATTE LAMINATE
Achieve balance between solid colors

HOW TO INSTALL
Gather Supplies
Before you begin the placement of your decal, be sure you have the following items: paper towel, alcohol, decal, masking tape, measuring tape, blade, and a squeegee.
Step 1: Clean
Once you’ve gathered all your items, clean the surface you will be placing the decal or label on to ensure that it lasts longer.
Step 2: Line Up & Measure
Once your surface is complete dry, use a few small pieces of masking tape to line up and measure where your decal or label will be to guarantee that it is level.
Step 3: Cut Backing
Once you have your decal or label exactly where you would like it, cut half of the backing to prepare for placement.
Step 4: APPLICATION
Place the half of your decal or label that does not have the backing to the surface, being sure to squeegee it down. Then, remove the second half of the backing, applying the the decal or label down with a squeegee.
Step 5: Remove Transfer Tape
Once complete secured down to your surface, remove the transfer tape from the top of your decal or label.
Step 6: Enjoy
You did it! Your decal or label is ready to show off!


READY TO GET STARTED?

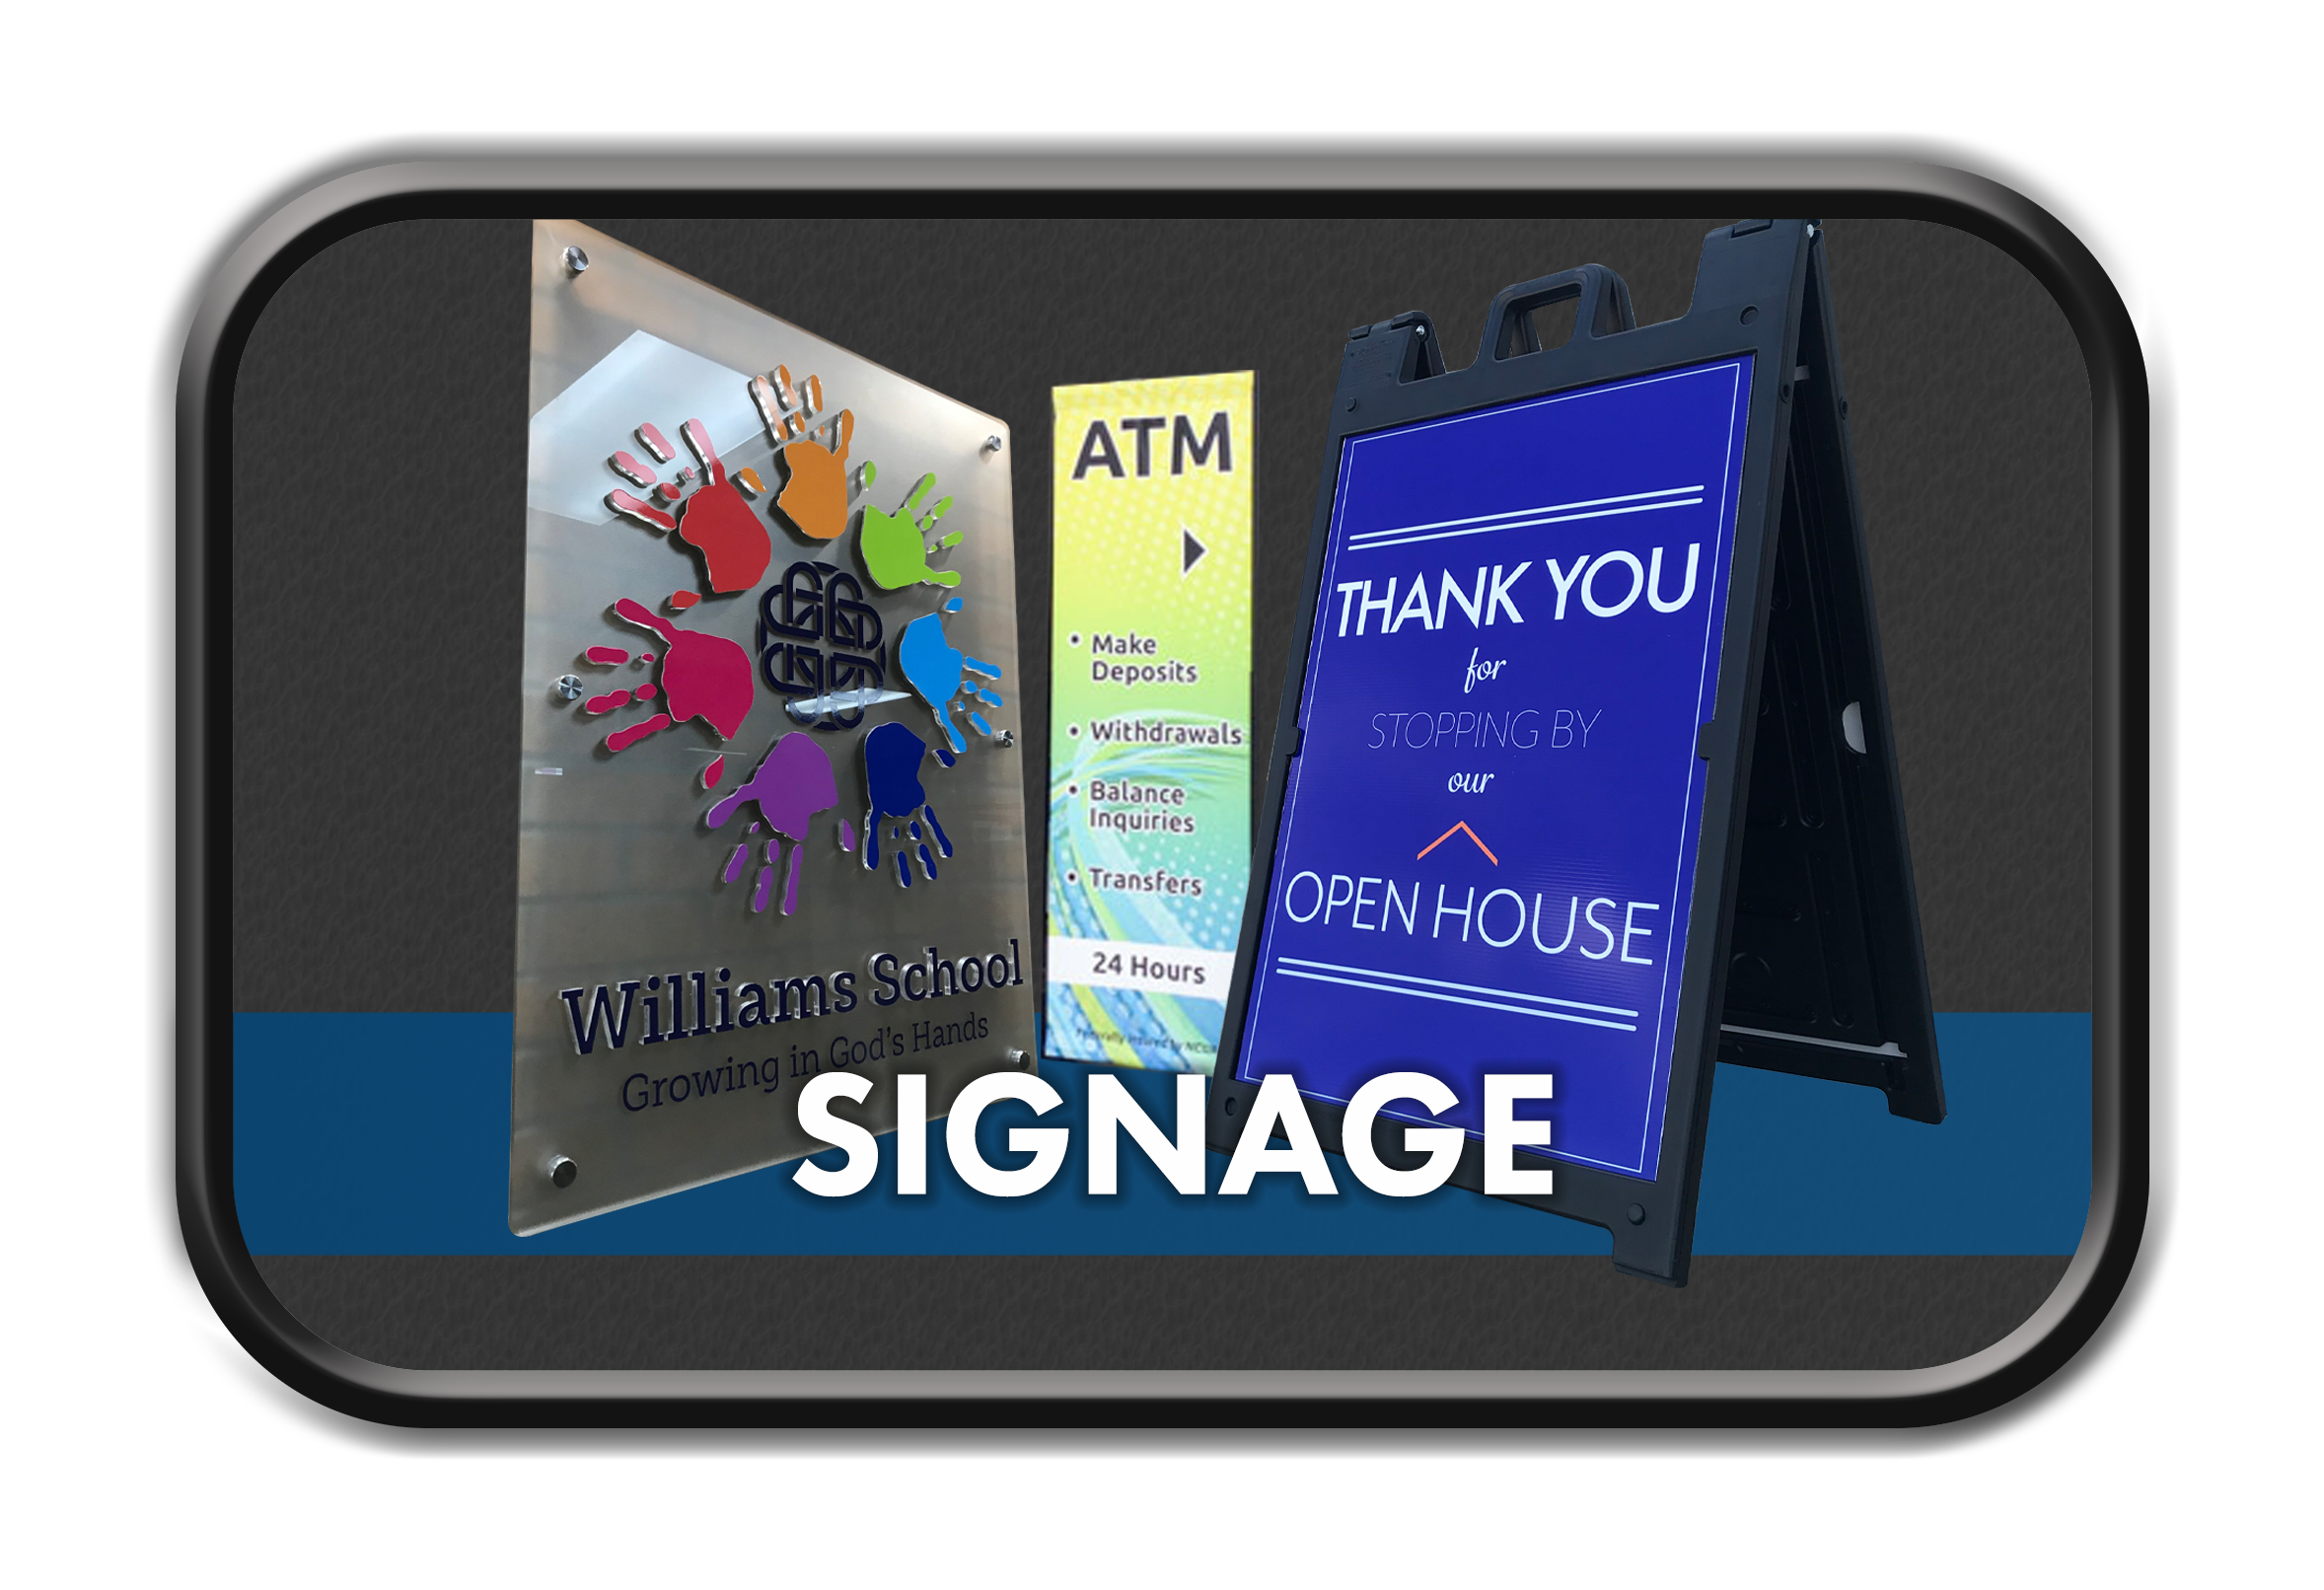
ALSO CHECK OUT